English
Quick Start
This section guides you through the initial power-on and basic connection of the T256s. For detailed functional descriptions, please refer to the User Guide (UG).
Power Supply Instructions
The T256s does not have a built-in battery. You can power the device using any of the following methods:
- Direct Phone Connection: Plug the device directly into the Type-C port at the bottom of your smartphone (requires OTG power support).
- External Power: Connect to a power bank, USB wall adapter, or a PC USB port via the Type-C male or female connectors.
[!IMPORTANT]
Power Requirements: A stable 5V power supply is highly recommended. Insufficient power may lead to continuous reboots or screen flickering.
Standalone Inspection Mode
Without connecting to a phone or computer, the T256s can function as an independent, portable thermal imager. Simply connect it to a power source to begin inspection.
Startup Workflow:
- Power On: Connect power via the Type-C female port; the screen will immediately light up and display the boot logo.
- System Loading (Approx. 3-5s): The system automatically initializes and loads the basic UI framework.
- Sensor Warm-up & Calibration (Approx. 5-10s): The infrared module completes its initial calibration, and the screen begins displaying real-time thermal distribution images.

UVC Online Mode
The T256s complies with the standard UVC (USB Video Class) protocol. On major operating systems (Windows, Linux, Android), the device is recognized as a driverless camera, eliminating the need for additional driver installations.
macOs Connection


Connect T256s to your macOS device via a USB cable.
- Software Preview: Launch Photo Booth and select UVC Camera from the camera list.
- Web Preview: Visit usbkvm.sipeed.com and select UVC Camera.
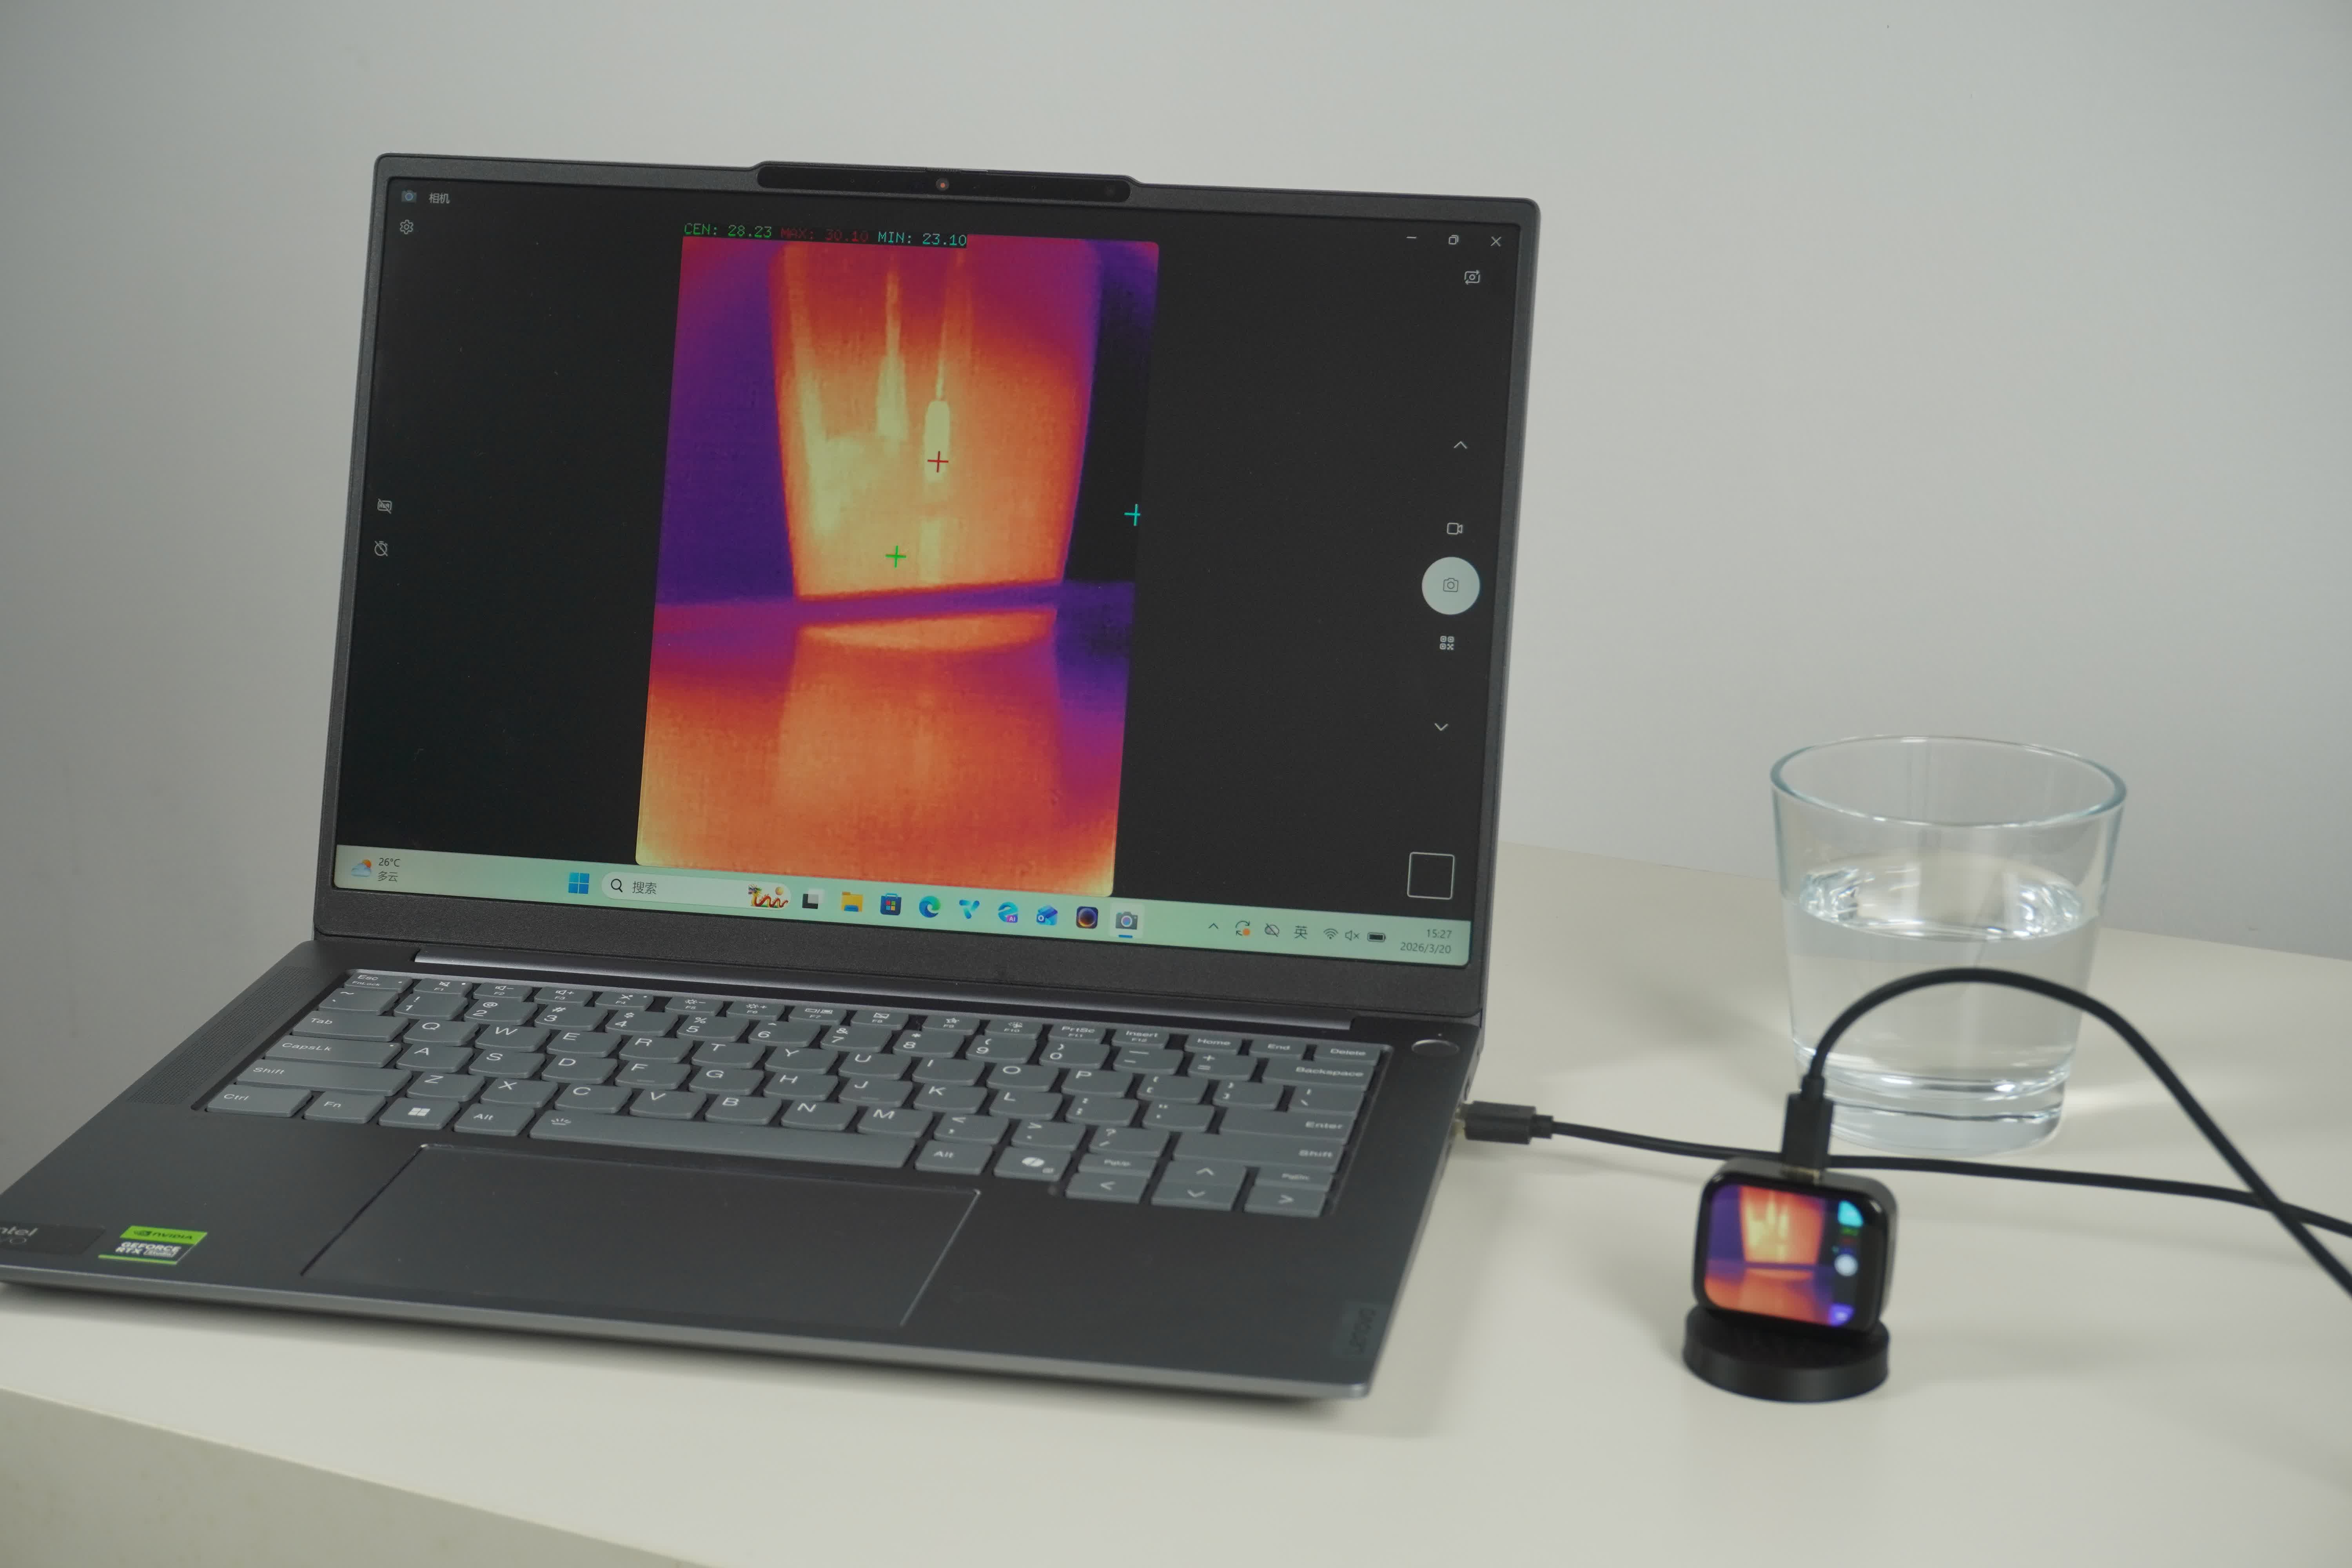
Windows Connection
Connect the T256s to your PC via a USB data cable.
- Device Recognition: Open "Device Manager." Under the "Cameras" or "Imaging Devices" category, you should see a device named "USB Camera" or "T256s Thermal Camera."
- Image Preview: You can use the built-in Windows "Camera" app or third-party software such as OBS Studio, VLC, or PotPlayer.
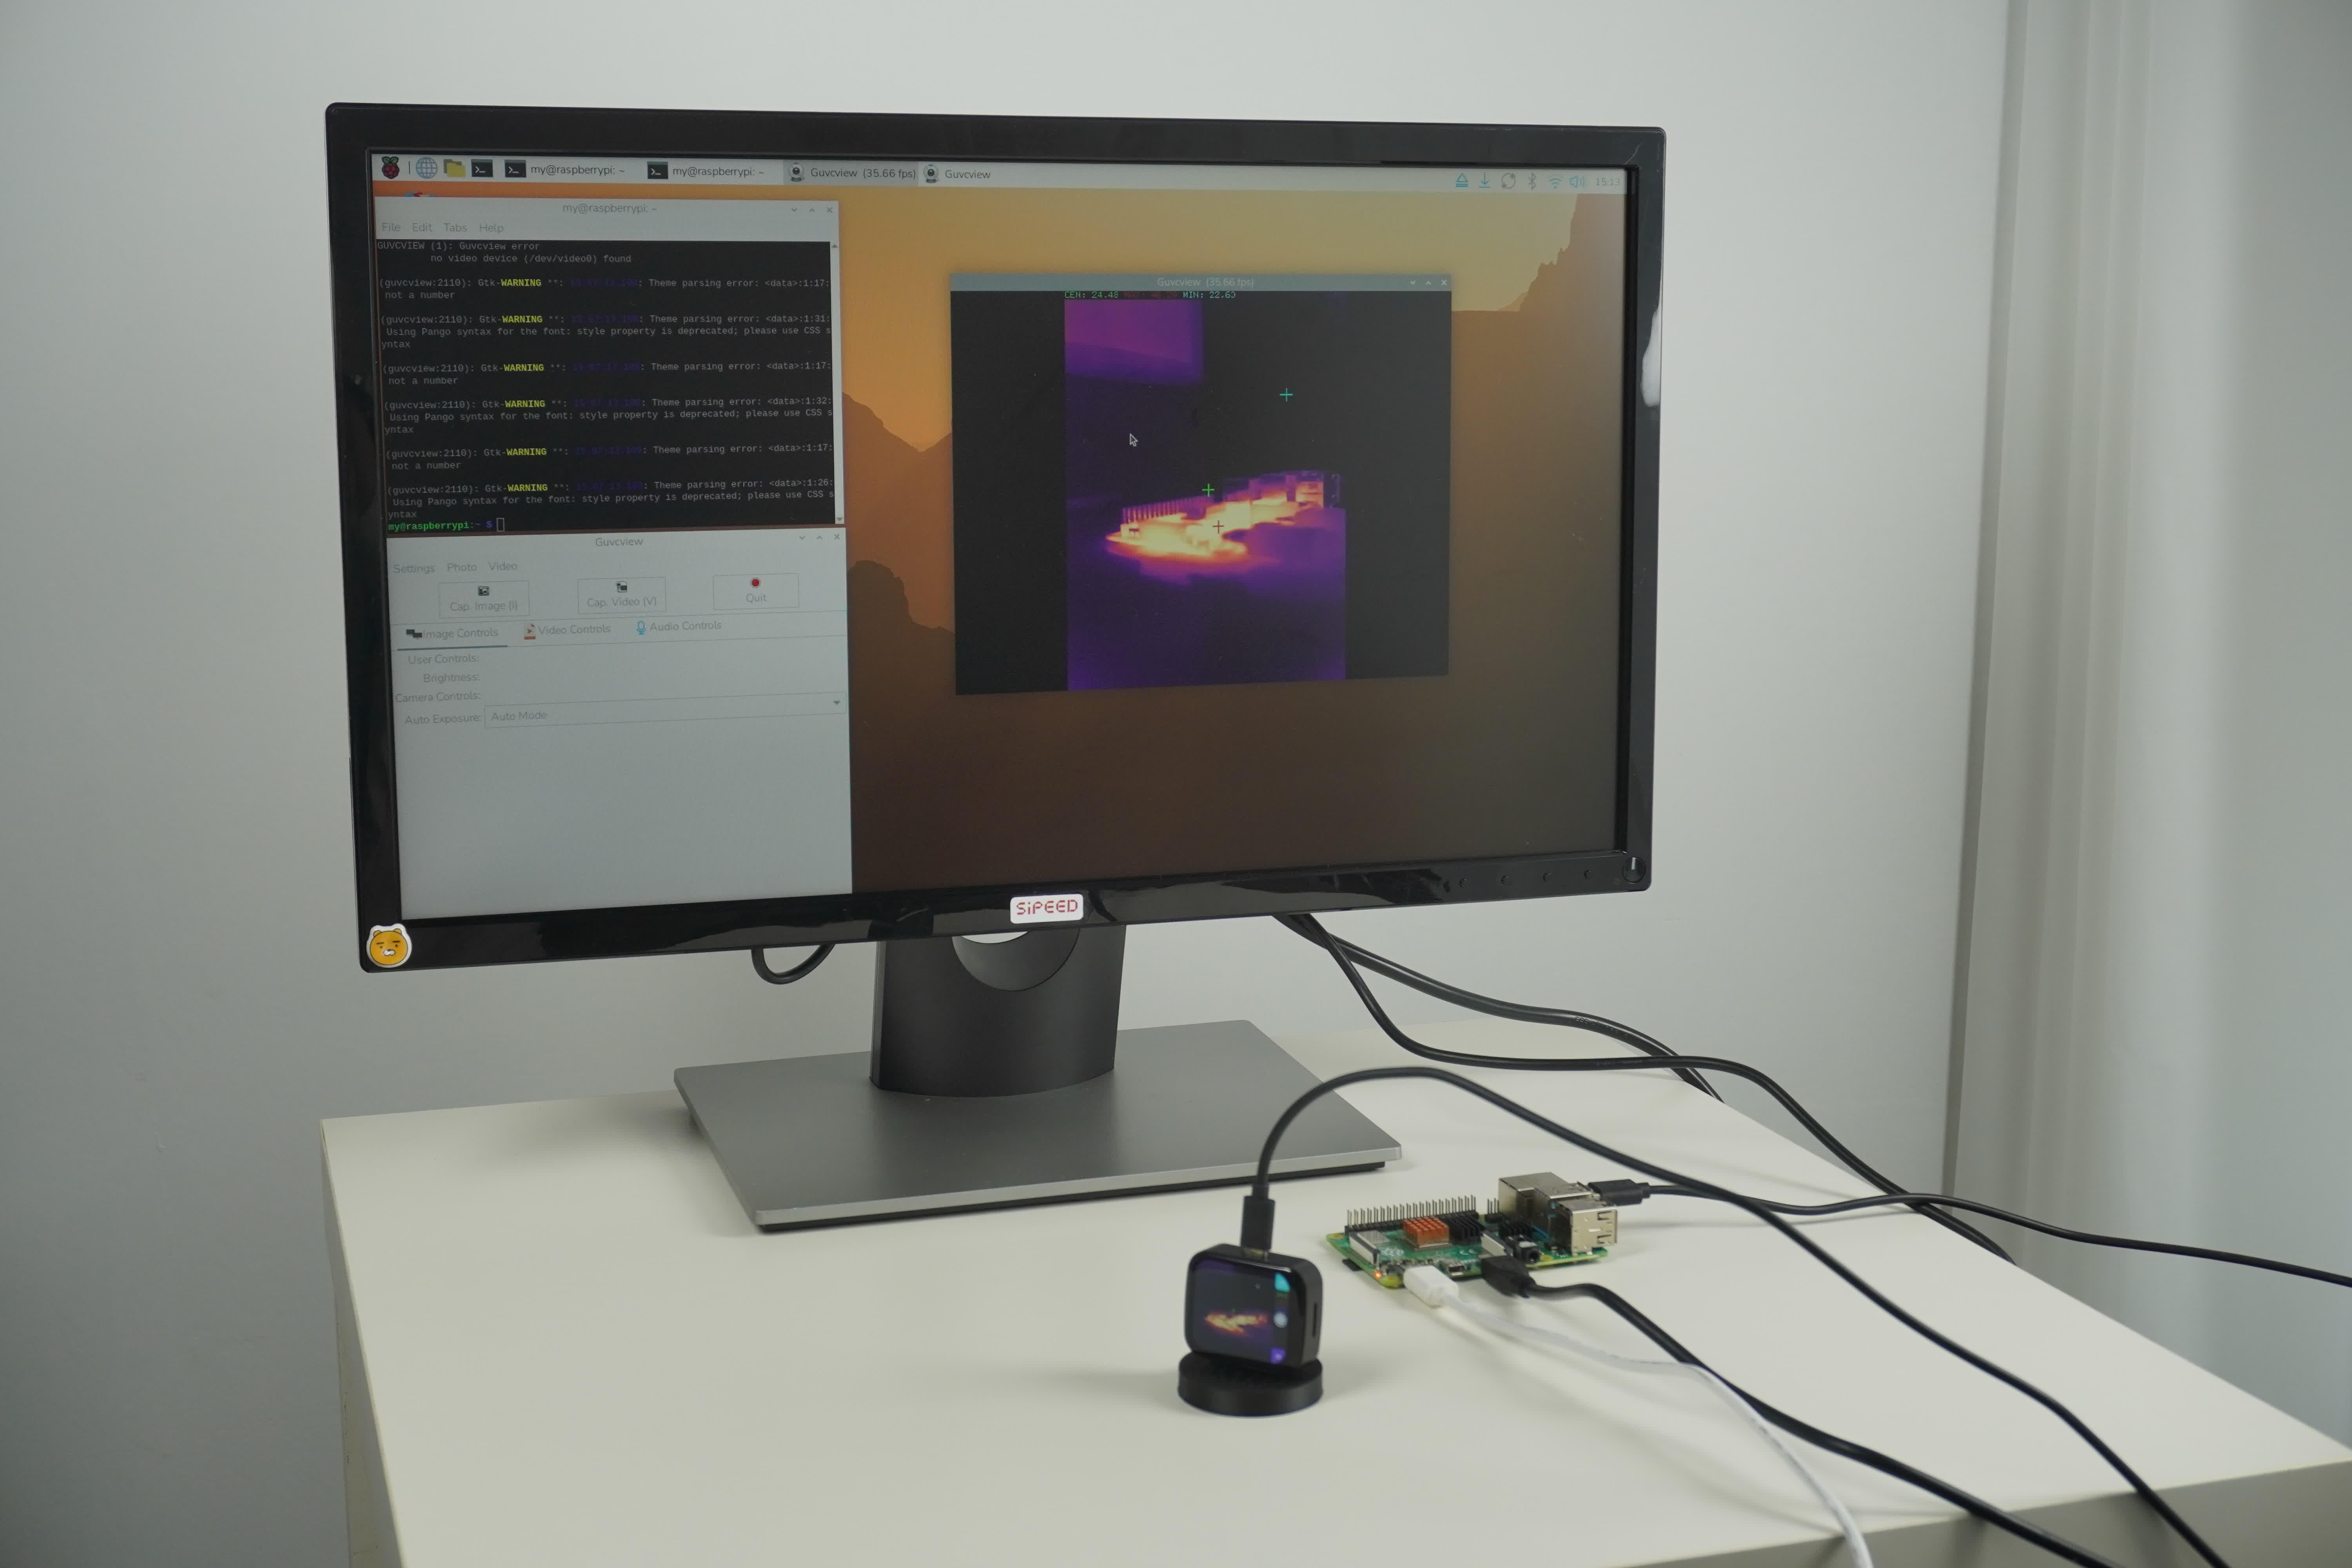
Linux / Raspberry Pi Recognition
In a Linux environment, the T256s is typically mapped to a /dev/videoX device.
- Recommended Tools: Use
guvcview,cheese, orffmpegfor testing. - Log Verification: After plugging in the device, execute the
dmesgcommand in the terminal to view recognition logs.
Example Recognition Log (from actual device)
[102310.868452] usb 1-7.4.2: new high-speed USB device number 35 using xhci_hcd
[102310.966974] usb 1-7.4.2: New USB device found, idVendor=359f, idProduct=ffff, bcdDevice= 4.19
[102310.966980] usb 1-7.4.2: New USB device strings: Mfr=1, Product=2, SerialNumber=3
[102310.966982] usb 1-7.4.2: Product: Thermal Camera (UVC)
[102310.966983] usb 1-7.4.2: Manufacturer: Sipeed Ltd.
[102310.966985] usb 1-7.4.2: SerialNumber: 0123456789
[102310.991815] uvcvideo 1-7.4.2:1.0: Found UVC 1.00 device Thermal Camera (UVC) (359f:ffff)
[102310.998891] usb-storage 1-7.4.2:1.2: USB Mass Storage device detected
[102310.999030] scsi host8: usb-storage 1-7.4.2:1.2
[102312.036627] scsi 8:0:0:0: Direct-Access     Linux    File-Stor Gadget 0419 PQ: 0 ANSI: 2
[102312.036788] sd 8:0:0:0: Attached scsi generic sg1 type 0
[102312.036980] sd 8:0:0:0: Power-on or device reset occurred
[102312.037313] sd 8:0:0:0: [sdb] 65536 512-byte logical blocks: (33.6 MB/32.0 MiB)
[102312.145478] sd 8:0:0:0: [sdb] Write Protect is off
[102312.145485] sd 8:0:0:0: [sdb] Mode Sense: 0f 00 00 00
[102312.255625] sd 8:0:0:0: [sdb] Write cache: enabled, read cache: enabled, doesn't support DPO or FUA
[102312.495980]  sdb:
[102312.496065] sd 8:0:0:0: [sdb] Attached SCSI removable disk
[102313.464088] usb 1-7.4.2: USB disconnect, device number 35
[102313.493673] sd 8:0:0:0: [sdb] Synchronizing SCSI cache
[102313.493716] sd 8:0:0:0: [sdb] Synchronize Cache(10) failed: Result: hostbyte=DID_NO_CONNECT driverbyte=DRIVER_OK
[102315.740234] usb 1-7.4.2: new high-speed USB device number 36 using xhci_hcd
[102315.839493] usb 1-7.4.2: New USB device found, idVendor=359f, idProduct=ffff, bcdDevice= 4.19
[102315.839512] usb 1-7.4.2: New USB device strings: Mfr=1, Product=2, SerialNumber=3
[102315.839520] usb 1-7.4.2: Product: Thermal Camera (UVC)
[102315.839526] usb 1-7.4.2: Manufacturer: Sipeed Ltd.
[102315.839530] usb 1-7.4.2: SerialNumber: 0123456789
[102315.864161] uvcvideo 1-7.4.2:1.0: Found UVC 1.00 device Thermal Camera (UVC) (359f:ffff)
[102315.871660] usb-storage 1-7.4.2:1.2: USB Mass Storage device detected
[102315.871856] scsi host8: usb-storage 1-7.4.2:1.2
[102316.899524] scsi 8:0:0:0: Direct-Access     Linux    File-Stor Gadget 0419 PQ: 0 ANSI: 2
[102316.899837] sd 8:0:0:0: Attached scsi generic sg1 type 0
[102316.899962] sd 8:0:0:0: Power-on or device reset occurred
[102316.900374] sd 8:0:0:0: [sdb] 65536 512-byte logical blocks: (33.6 MB/32.0 MiB)
[102317.010049] sd 8:0:0:0: [sdb] Write Protect is off
[102317.010070] sd 8:0:0:0: [sdb] Mode Sense: 0f 00 00 00
[102317.120036] sd 8:0:0:0: [sdb] Write cache: enabled, read cache: enabled, doesn't support DPO or FUA
[102317.350047]  sdb:
[102317.350175] sd 8:0:0:0: [sdb] Attached SCSI removable disk
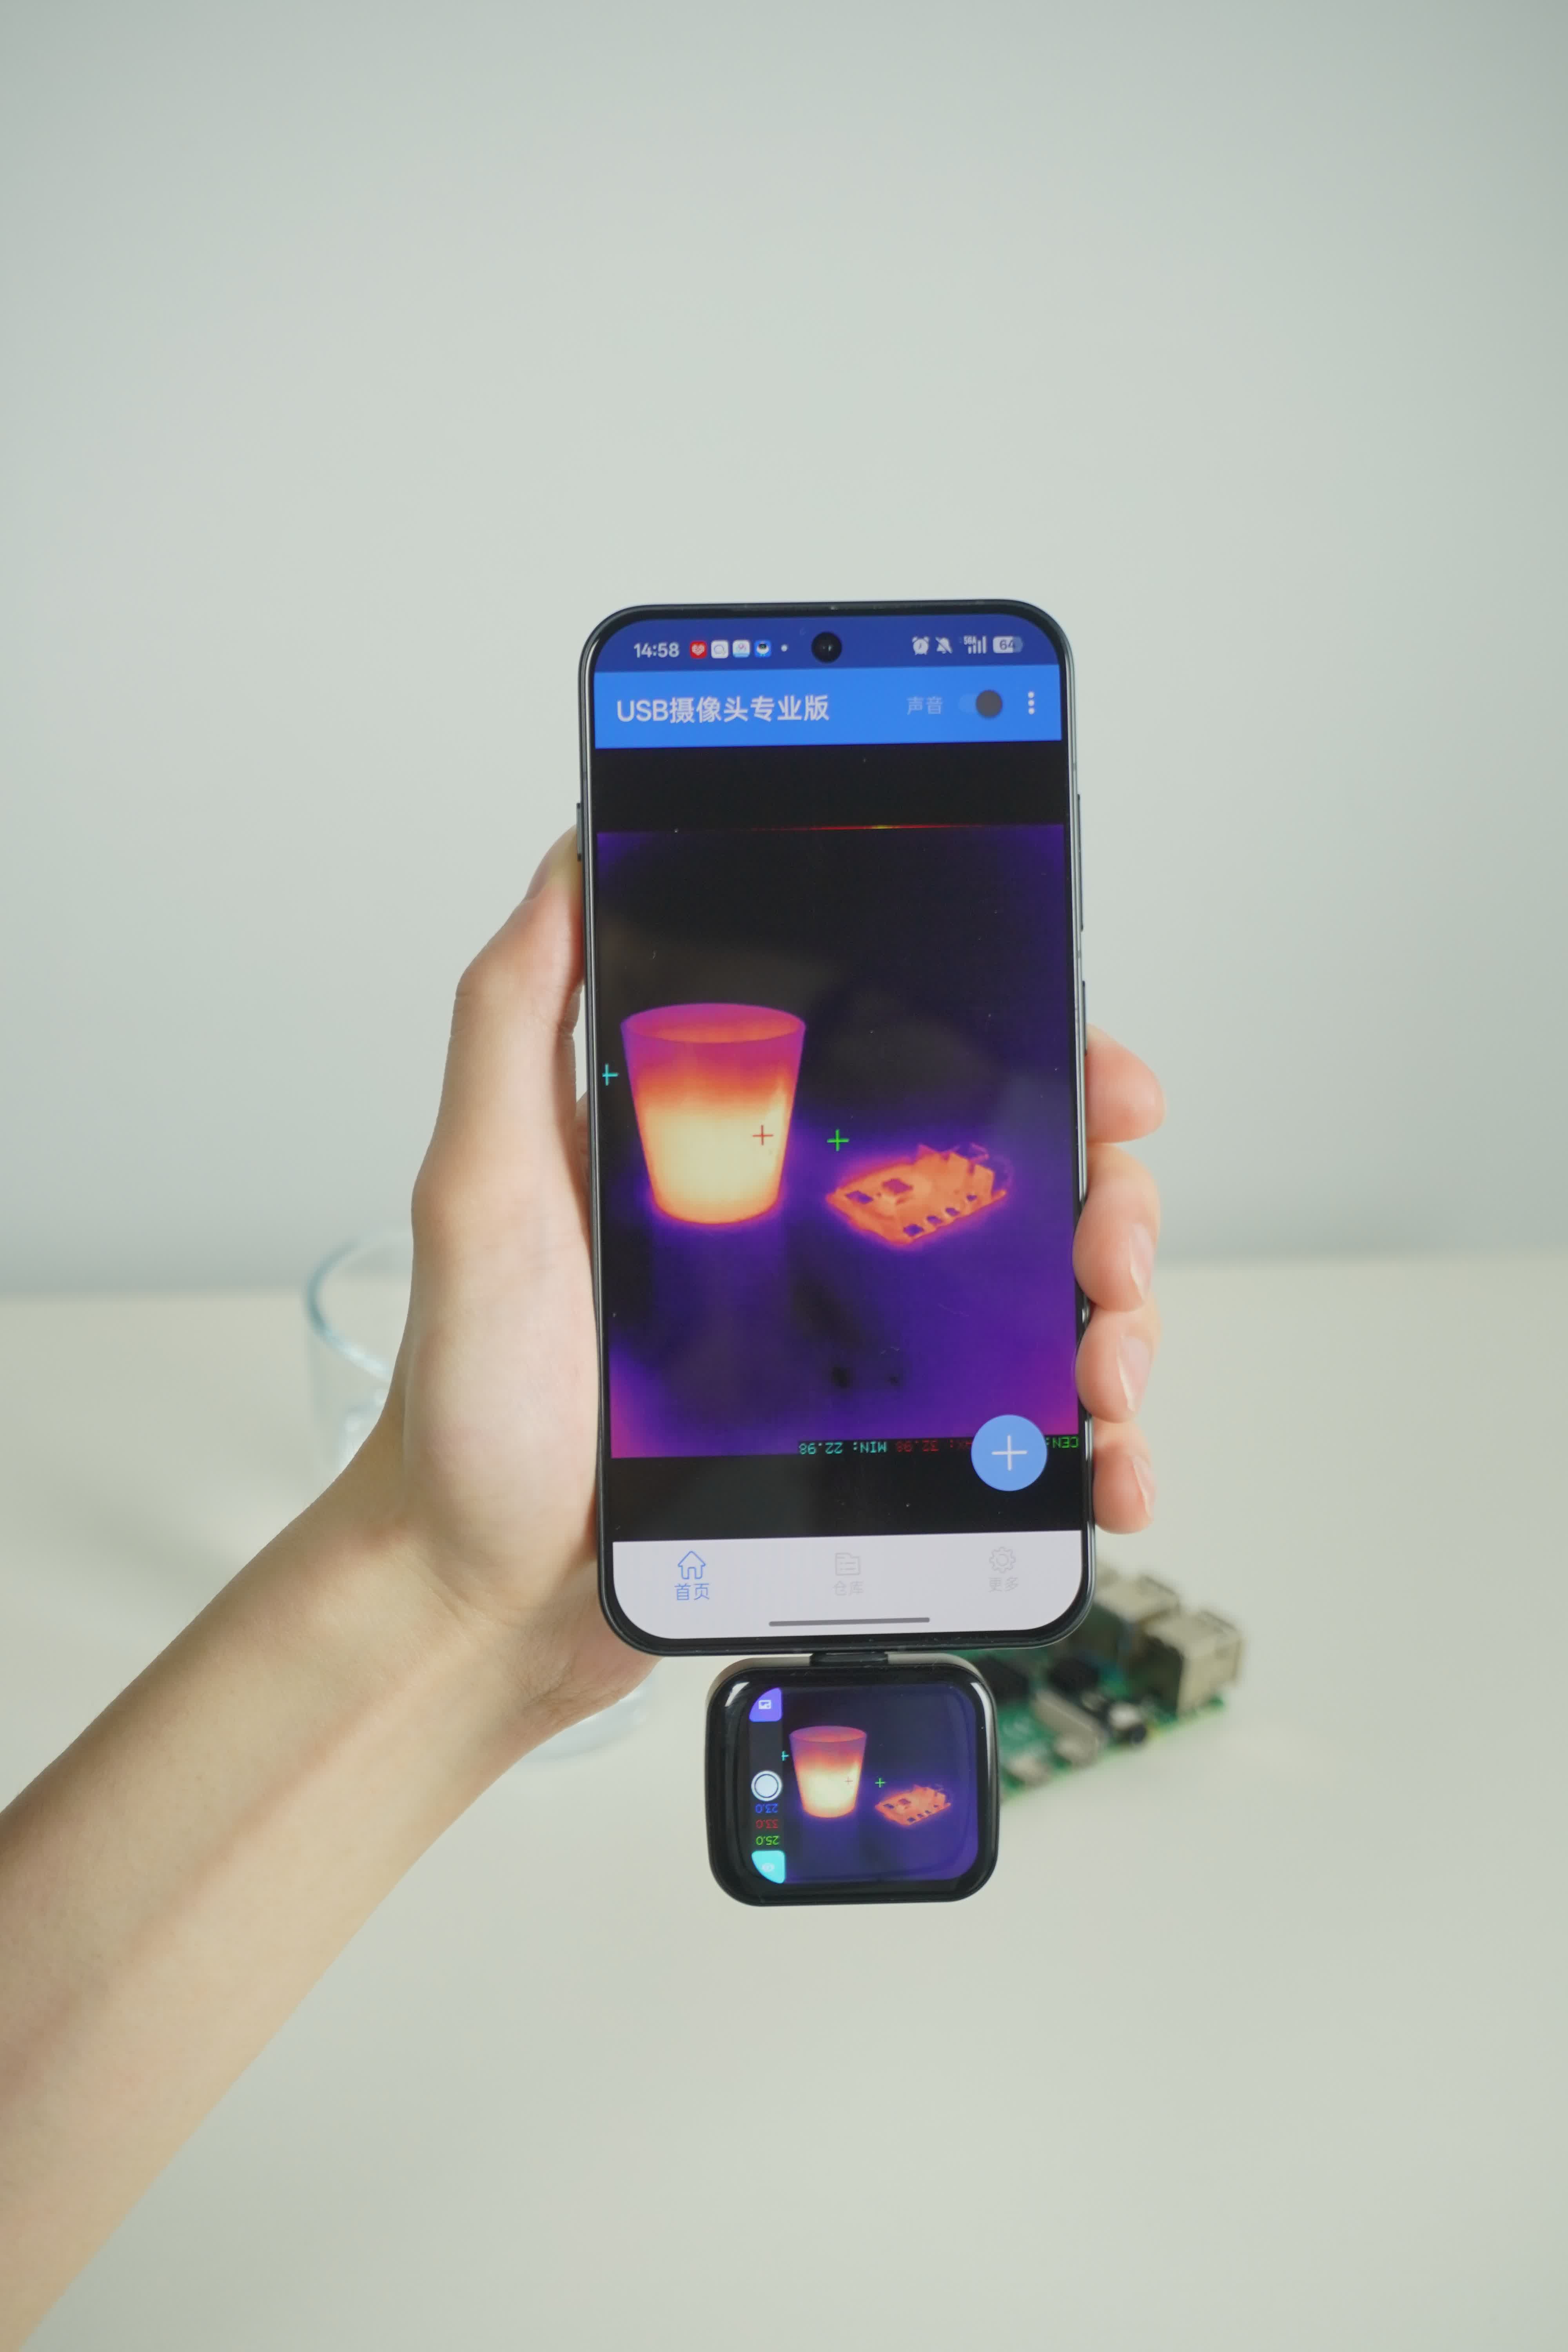
Android Mobile Usage
- Connection: OTG-compatible phones can be directly connected via the bottom interface.
- Software: We recommend using apps that support the UVC protocol, such as "USB Camera.". As the Type-C interface of the thermal imager is designed for downward connection , when using the device with a smartphone, please apply both "Horizontal Mirroring" and "Vertical Mirroring" to ensure the on-screen display aligns with your control movements.
- Operation: Upon insertion, the phone will typically prompt for permission. Tap "OK" to start the thermal image preview.
iPad Usage
- Compatibility: Please note that iOS is not supported (iPhone). This device is compatible only with iPadOS.
- Connection: Plug the device directly into the iPad's data port (USB-C).
- Software: We recommend using apps that support the UVC protocol, such as "USB Camera." Since the thermal imager's Type-C connector is designed for a downward orientation, you will need to rotate the image twice (270°) in the app settings to align the display with your operating direction.
- Operation: Once the device is plugged in, the iPad will typically prompt for permission. Tap "OK" to start the thermal imaging preview.
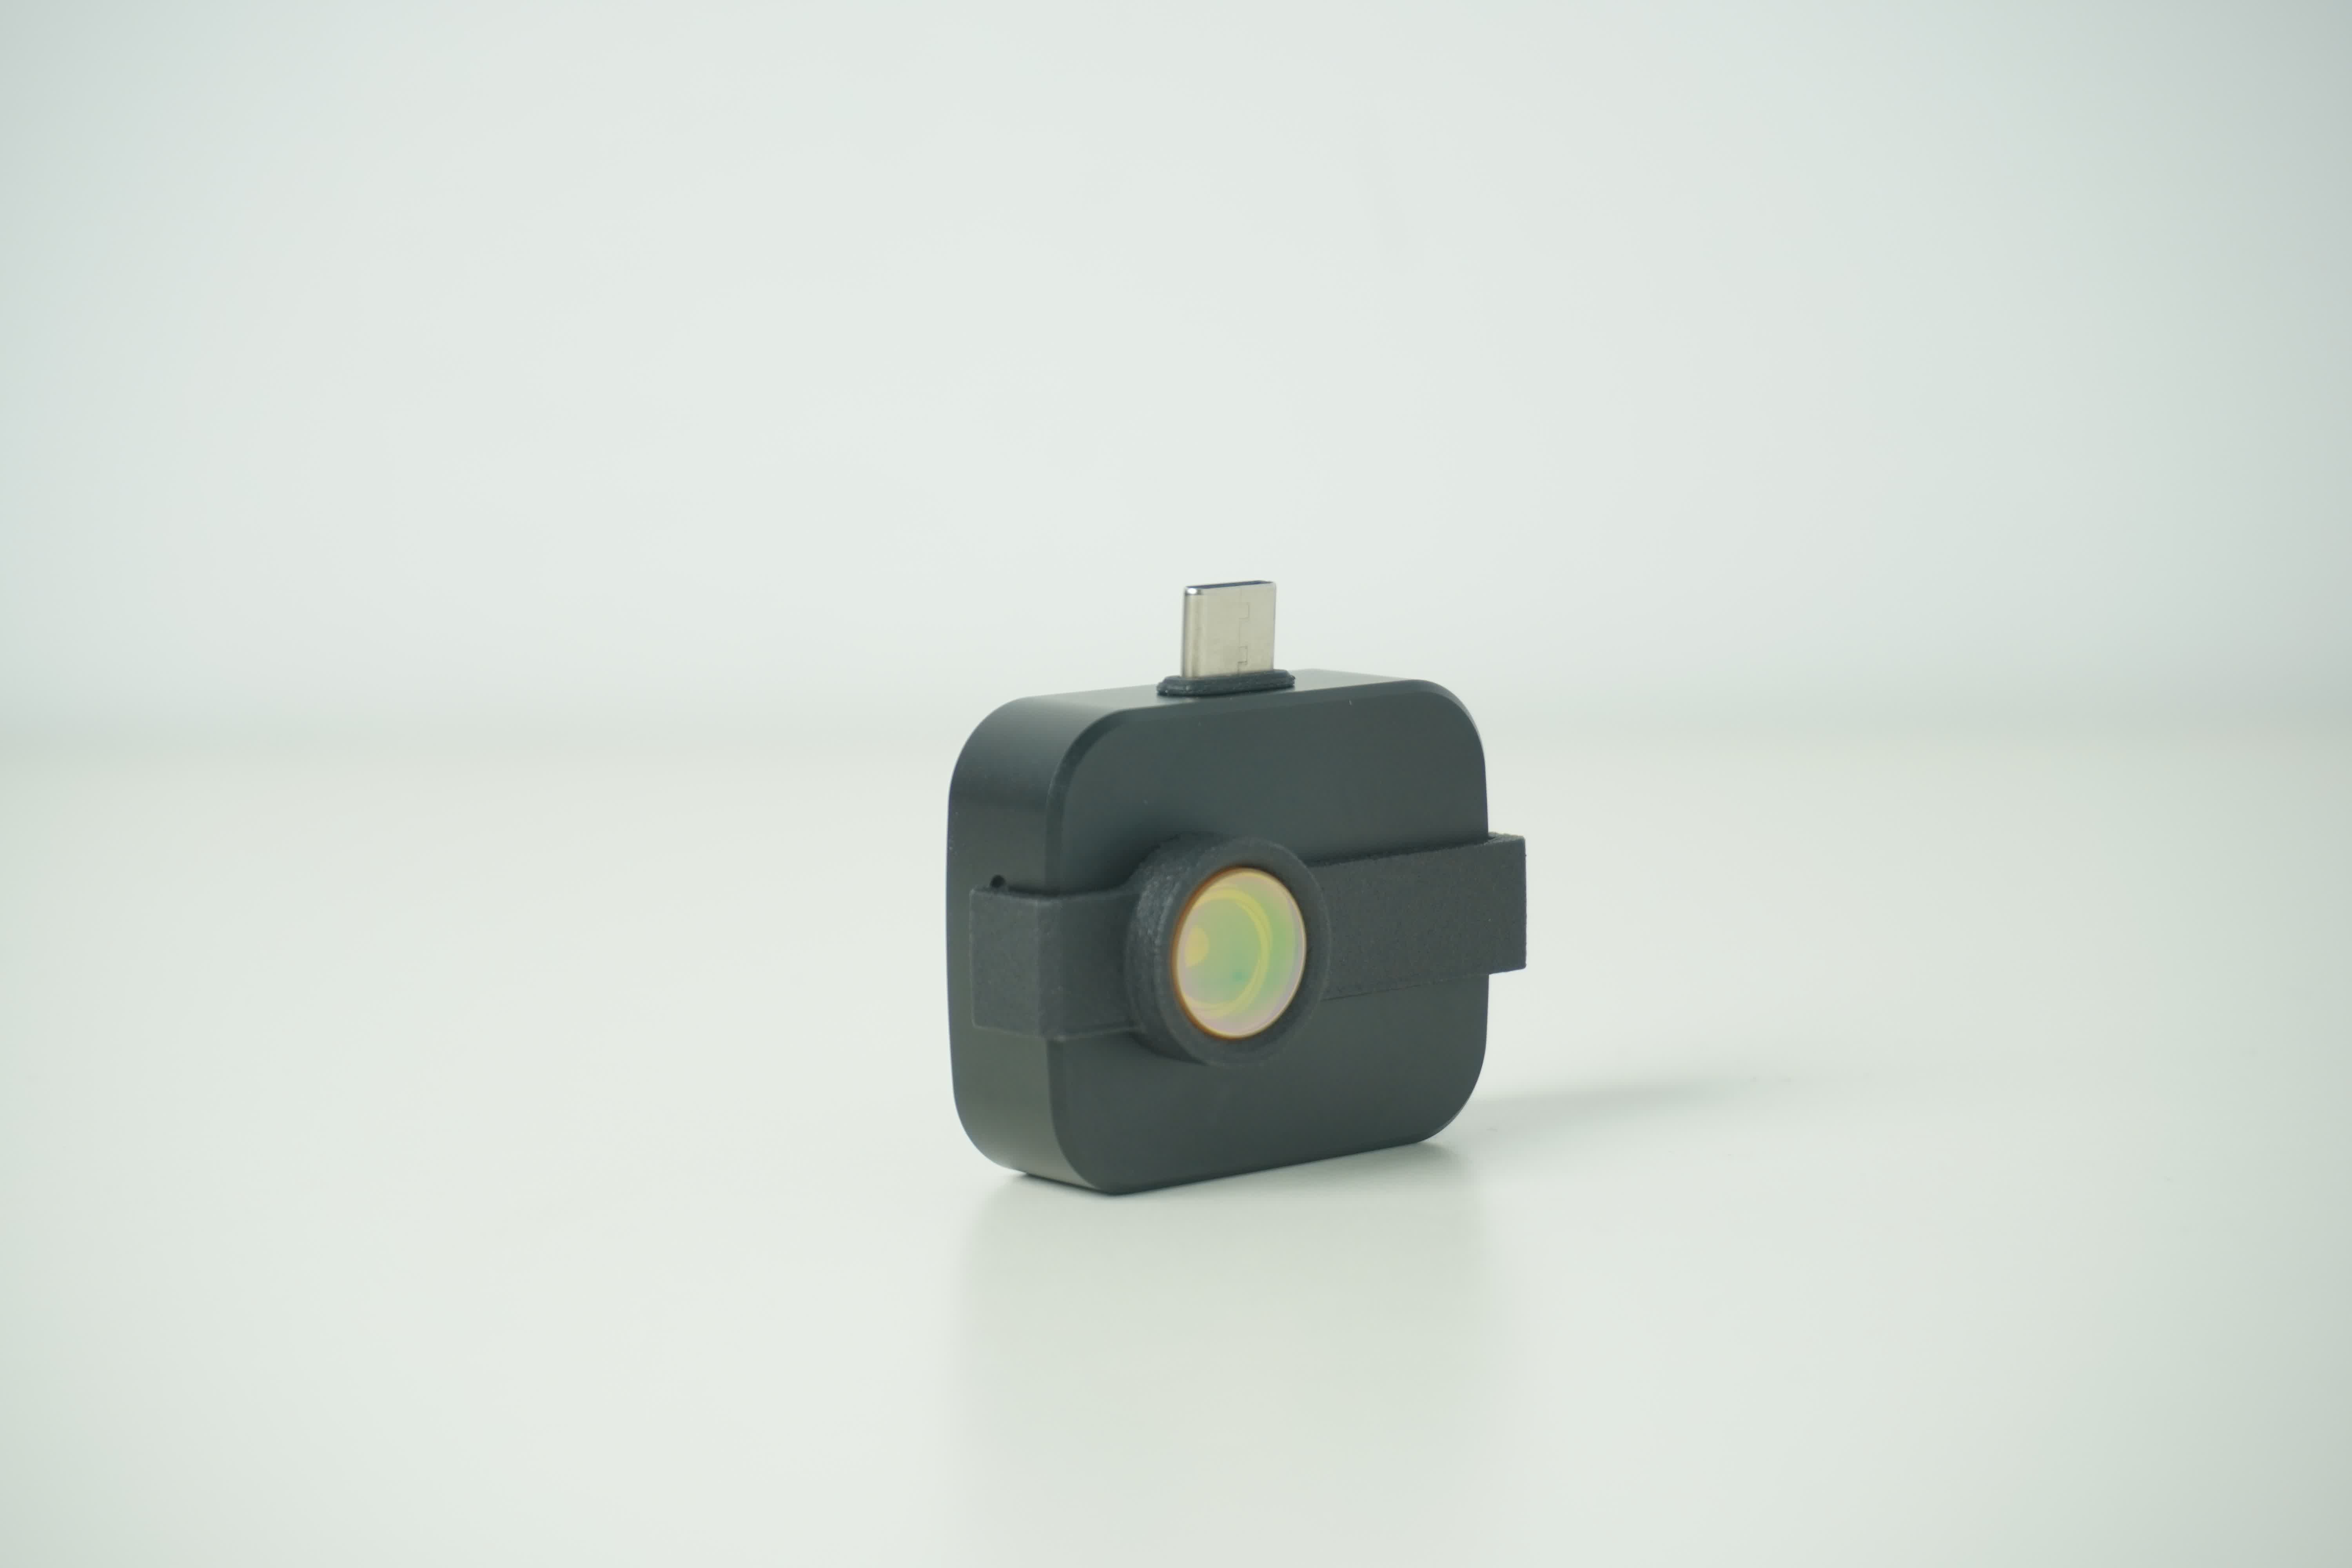
Macro Lens Installation
To observe PCB components, gently attach the included macro lens to the front of the thermal imaging module.
- Working Distance: Approximately 5cm.
- Effect: Enables clear visualization of heat distribution on tiny components, such as 0402 surface-mount resistors.